Tutorial: How to use Ortho4XP
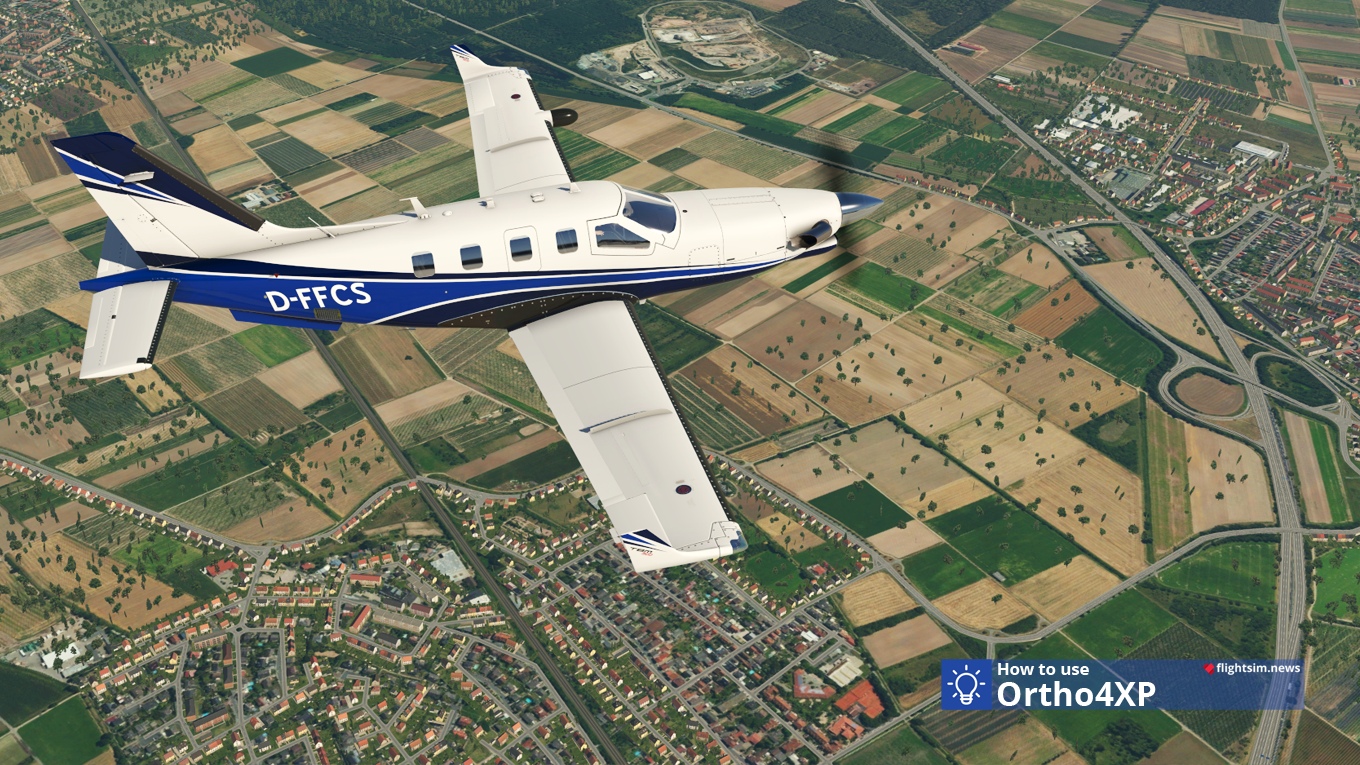
Ortho4XP is a great freeware tool to build your own photo sceneries for X-Plane 11 – just in a few clicks. After a short wait you have a detailed photo scenery for your own use including mesh, roads, Autogen and Airports. However it might be a bit challenging to use the software. But don’t worry: With this post we will now give you step-by-step instructions on how to use the software correctly and achieve nice results.
How to get and install it
Basicly, Ortho4XP is available as freeware in the download database of X-Plane.org. However, it should not be obtained from there. The developer places the current version in his dropbox and publishes the direct link to it in the signature of his profile. Accordingly, you should have a look here. For download, just click the link in Oscar Pilote’s signature.
After downloading the zip folder has to be unpacked into any directory – in my case this is the program folder on the hard disk. In any case, there should still be enough space on your hard disk, because photo sceneries can become large.
What else is noteworthy is important: You must have the region for which you want to create a photo scenery installed in X-Plane 11. If in doubt, check the installer again.
Creating the photo scenery with Ortho4XP
Now we start the actual creation process. This is very easy, but it takes some time until the individual tiles have been downloaded from the provider. First of all, it should be noted that we are unfortunately not Ortho4XP experts and do not have any in-depth knowledge here either. This post should only be a quick, superficial application tutorial.
Okay, let’s start: Under Ortho4XP/bin you can find the Ortho4XP_v120b.exe (August 2018). This must be carried out with a double-click. Now a window appears.
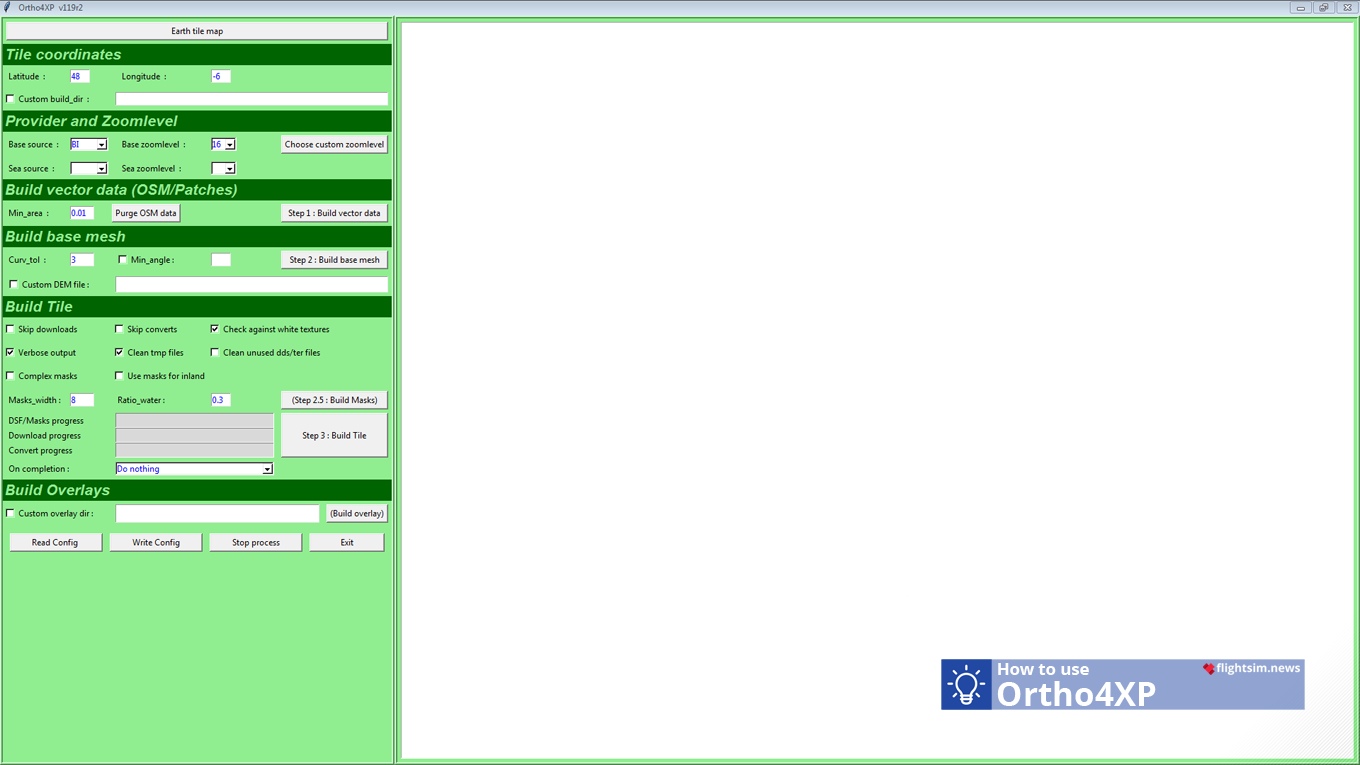
Provider and Zoomlevel
In the section Provider and Zoomlevel you should enter 17 in the field Base Zoomlevel , this is the best experience we have had. The higher the zoom level, the better the scenery is detailed; but the size will then also increase. Under Base-Source you can choose the provider, you might have to try something. However the default setting “BI” provides very good images for our test area.
Build Overlays: Autogen, Roads and more
Now the X-Plane Global Scenery must be selected under Build Overlays . The overlays are the Autogen as well as the roads, railway lines and airports, which will be shown later on the photo scenery. It is also possible to use the HD Mesh v3 from alpilotx. We’ll explain how to do that right away. But first the standard scenery, which already looks very good.
After a click on Custom overlay dir appears in window. Please select the path X-Plane 11/Global Scenery/X-Plane 11 Global Scenery .
Using HD Mesh v3 by alpilotx
If you installed the alpilotx HD mesh v3, you select the main folder of the mesh – I would use the X-Plane11/Custom Scenery/zzz_HD mesh .
Select the desired areas
Now click on “Earth Tile Map” at the very top of the window. Select the region for which the scenery is to be created with a mouse click. With mouse click, the region is highlighted in red – this means that it should be downloaded and created. Several regions can also be selected in a bunch by Mouse click while holding the shift key – but one should suffice for the start.
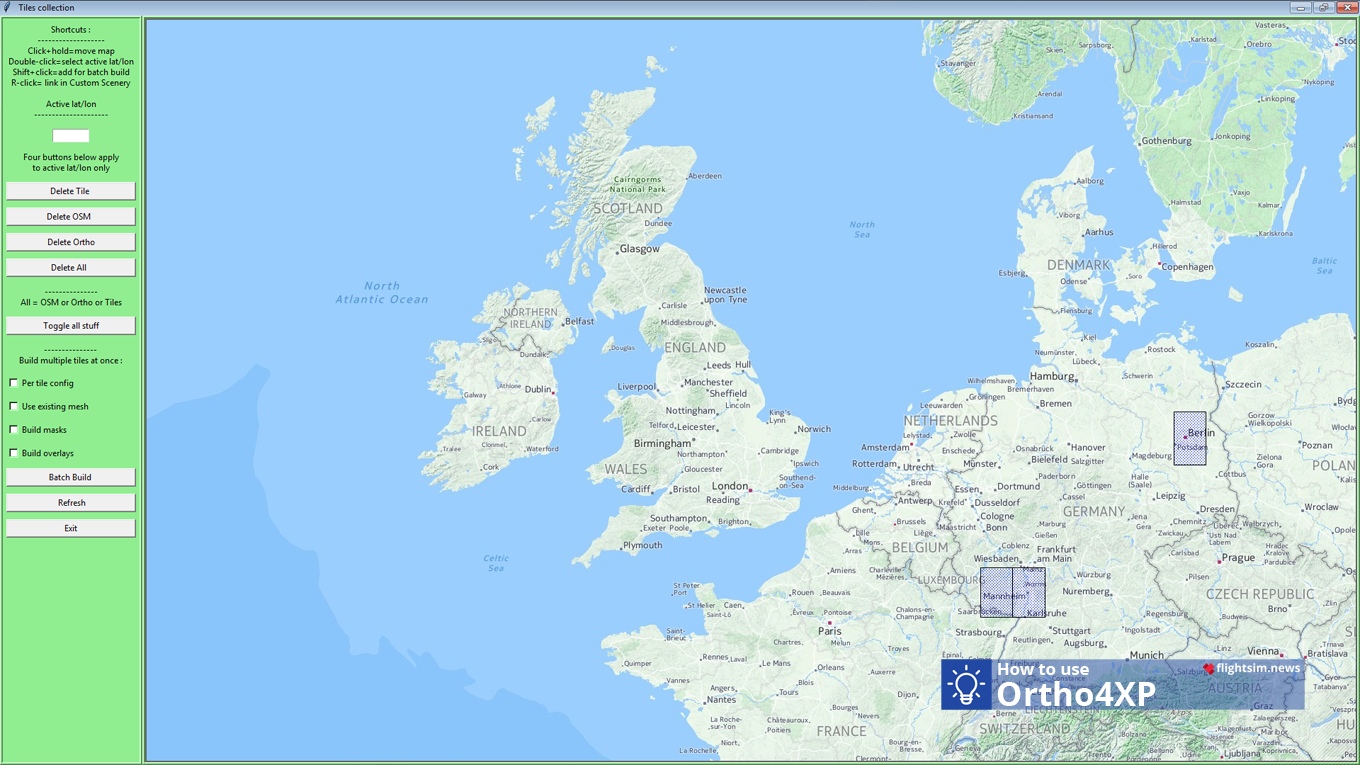
Now click on Build Masks and Build Overlays and then on Batch Build . It will now take a while (up to several hours) until the scenery has been downloaded and converted. The main window shows the progress – it can also be viewed there when the process has been completed. Ideally, the whole thing should run in the background, but computationally intensive applications (Flight Simulator or other games) should not run.
Adding the scenery to X-Plane 11
After completion, the new scenery has to be copied to the X-Plane 11 main folder. To do this, move the folder(s) from Ortho4XP/Tiles to your X-Plane 11/Custom Scenery folder. Furthermore, the folder Ortho4XP_Overlays must also be moved to X-Plane 11/Custom Scenery .
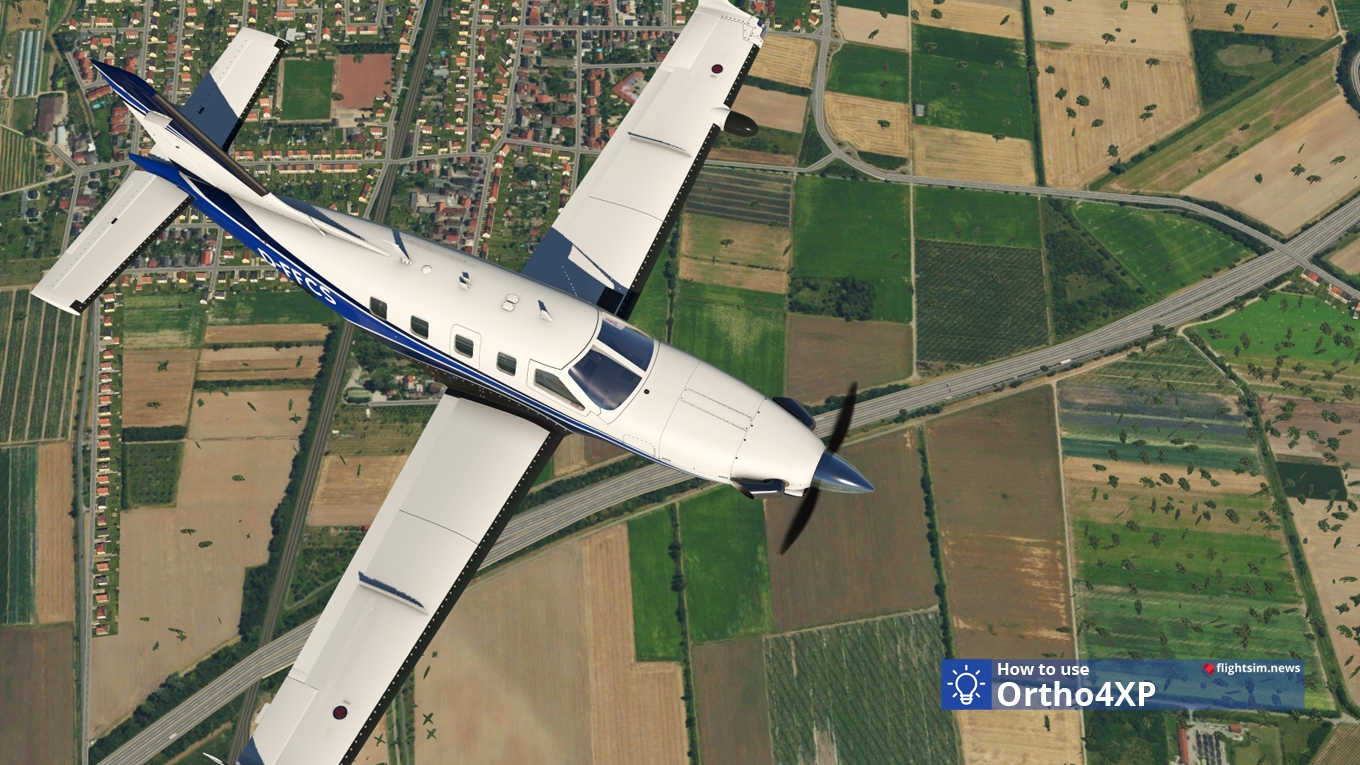
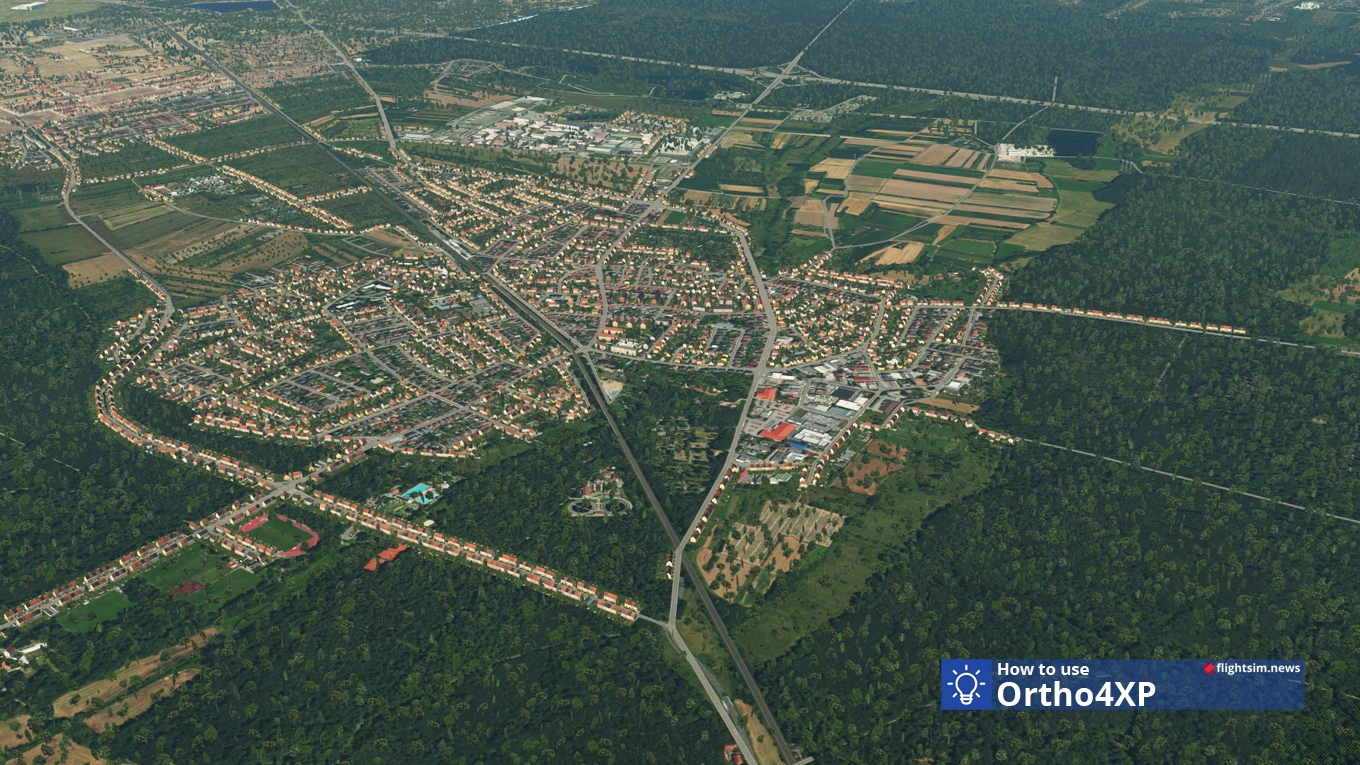
Now we can start: Start X-Plane 11 and be amazed. If all airport buildings have suddenly disappeared, simply close the simulator and delete the scenery_packs.ini from the X-Plane11/Custom Scenery folder. It is then regenerated on restart.
In individual cases it can also happen that the runway is really uneven – this is the case here in Egelsbach, for example. Ortho4XP “flutters” all airports and seats automatically so that such errors should not occur. In this case, however, two important tags were missing in Open Street Map (OSM), so Ortho4XP had not recognized EDFE correctly and therefore had not flown it. After we finally added these two tags to OSM, the creation of the scenery worked perfectly.
Color Legend
Directories Files Check or select Enter/typeDiscuss this topic
Become a Member at Flusiboard and discuss this topic here in our Community. You can also use the comments section at the end of this post to share your thoughts.